|
|
Important!
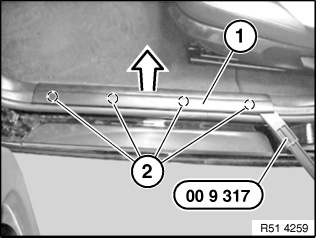
Do not
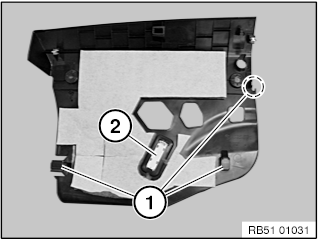
raise door sill cover strip (1) over entire length simultaneously. Unclip
rear door sill cover strip (1) from clips (2) starting from the
rear with special tool 00 9 317. |
|
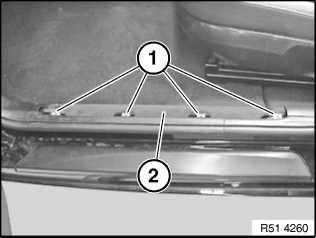
If
necessary lift clip (1) from floor panel (2) and clip on door sill cover
strip. |
|
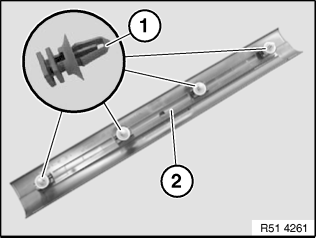
Installation
note: Replace
defective clips (1) on door sill cover strip (2). |
further
51 45 195
Removing and installing/replacing instrument panel trim, bottom right
|
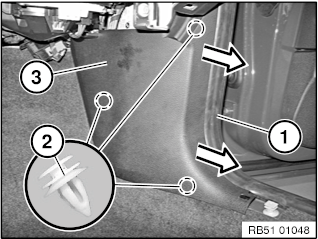
Unfasten
screw connection (1). Note: Version
with knee airbag: Unscrew nuts (1). Tightening
torque 51 45 9AZ. Release
trim panel (2) at clamps (3). Feed out
trim panel (2) in area (A) toward the bottom. Lower trim
panel (2) slightly and disconnect plug connections behind it. Installation
note: Feed in
trim panel (2) in area (A) correctly behind the centre console. Clamps (3)
must not be damaged. |

|
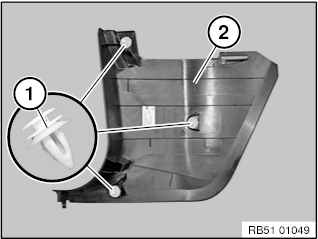
Installation
note: Guides (1)
must not be damaged or missing. Feed
guides (1) correctly into the corresponding holders on the vehicle. Replacement
(depending on version): Remount footwell light (2). Remount power socket. |
further
|
|
Detach
edge protection (1) in area of side trim panel (3). Pull side
trim panel (3) off clips (2) in direction of arrow. Loosen
clips (2) from body and insert in side trim panel (3). Installation
note: Make sure edge protection (1)
is correctly seated. |
|
|
Installation
note: Clips (1)
for side trim panel (2) must not be damaged. |
further
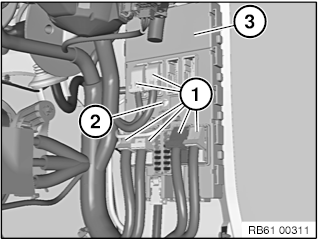
Remove and
install (replace) control unit Front Electronic Module (FEM)
|
|
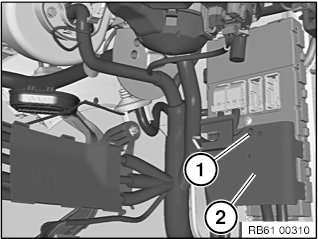
Release
screw (1) and remove cover (2). |
|
|
Important!
Risk of
damage to positive battery cable connector! Unlock the
positive battery cable connector:
|

|
|
Unlock
plug connections·(1) and disconnect. Release
bolt (2) and remove control unit (3). Tightening
torque 61 35 5AZ. Installation
note: Make sure
all plug connections are correctly latched. |
further
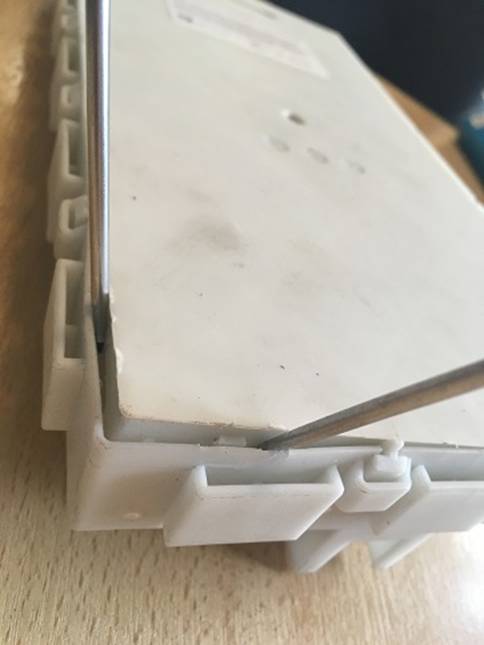
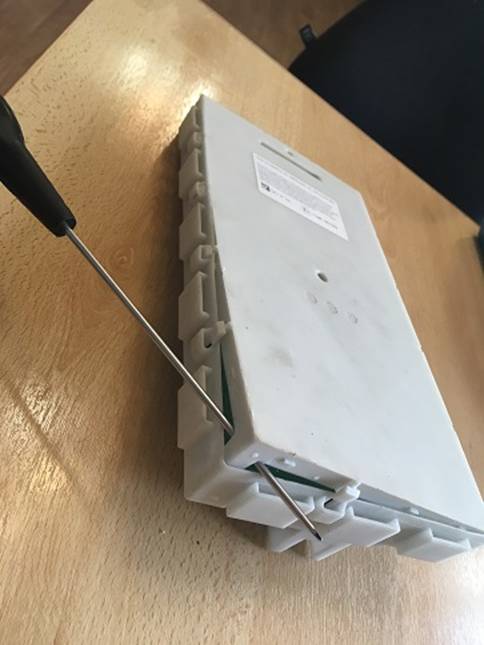
Remember the location of the fuses.
Open the unit by inserting around the edges of thin
screwdrivers near the plastic clips
further
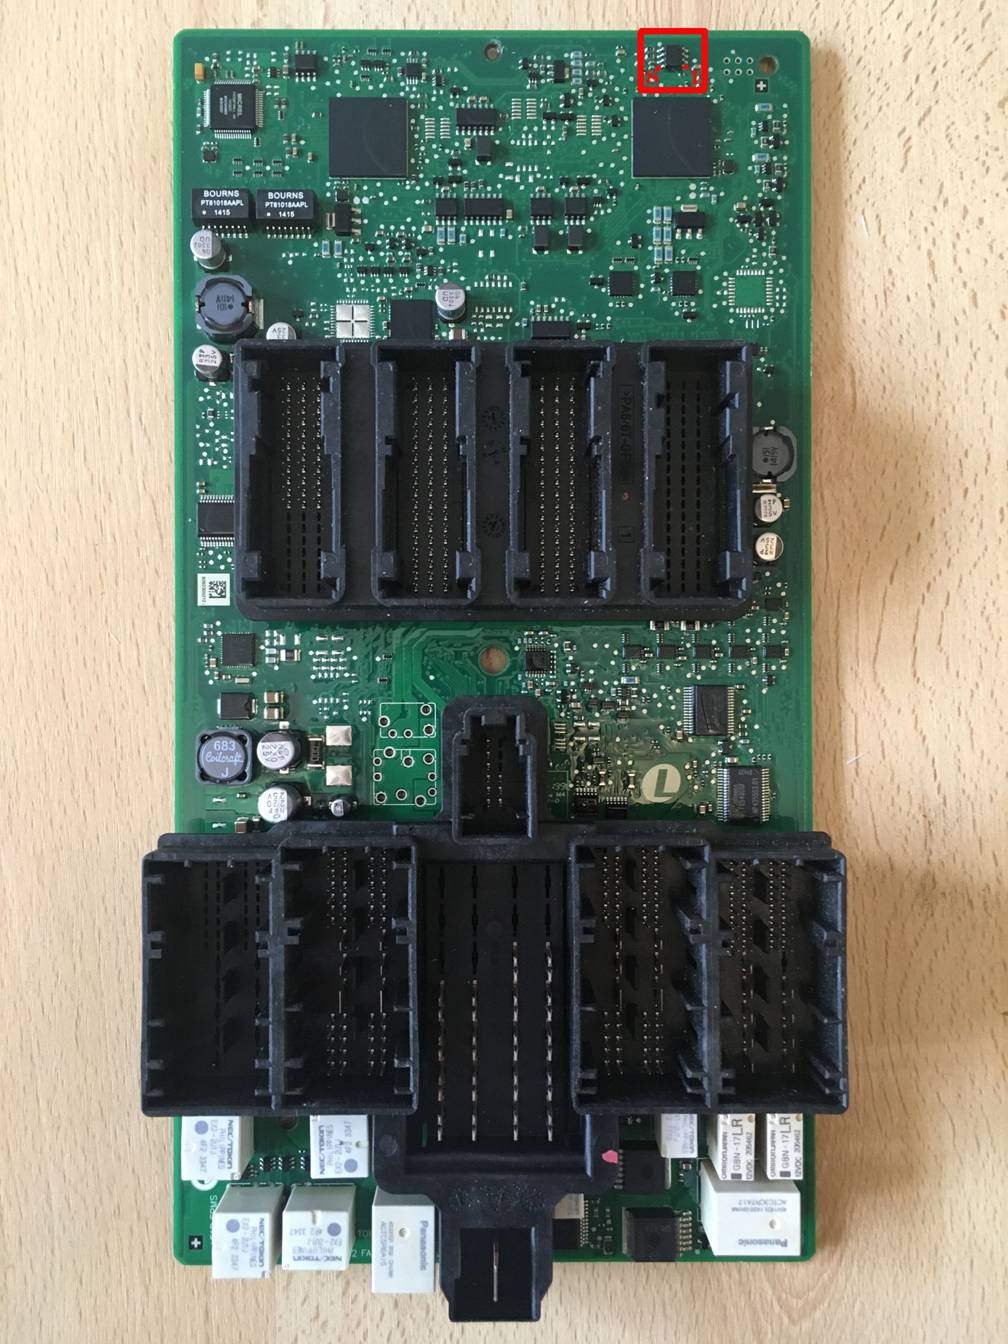
Eeprom 95128 Is located on the right